
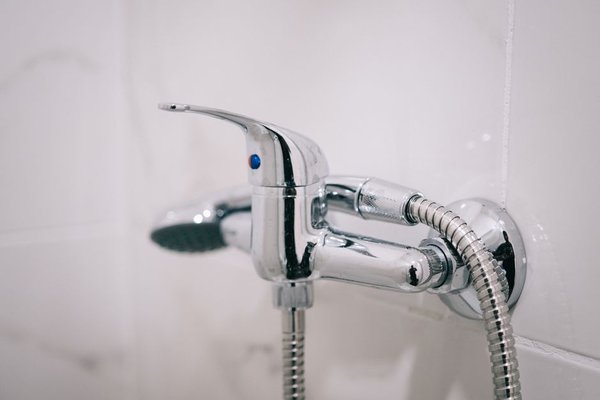
Replacing a showerhead is one of the quickest bathroom upgrades you can do, but there is one part worth protecting: the shower arm, the short pipe that comes out of the wall. If that arm twists while you remove a stubborn fitting, the threaded connection behind the wall can loosen. A five-minute job can then turn into a hidden leak or a plumbing repair.
The safest method is simple: keep the shower arm still, clean the threads, use the correct sealing method, and tighten the new head only as much as needed. Most showerhead installation jobs require only a few basic tools and a little patience.
Gather the Right Tools First
You will usually need an adjustable wrench or tongue-and-groove pliers, a soft cloth to protect the finish, a nylon brush or old toothbrush, and PTFE thread-seal tape if the new showerhead calls for it. A rubber strap wrench is also useful because it can grip finished metal without leaving marks.
Read the instructions that came with the new fixture. Some showerheads seal with PTFE tape, while others use an internal rubber washer and may not need tape at all. Follow the manufacturer’s sealing method rather than assuming every model is installed the same way.
Remove the Old Showerhead Without Twisting the Pipe
Turn the shower valve fully off. You generally do not need to shut off the home’s main water supply as long as the shower valve is working properly and no water is flowing from the arm.
Try loosening the old showerhead by hand first, turning it counterclockwise. Keep your other hand on the shower arm so you can feel if the pipe begins to move.
If the head is stuck, do not simply pull harder. Wrap a cloth around the shower arm and hold it steady with a wrench, or use a strap wrench. Use a second wrench on the showerhead’s connector and apply slow pressure. The first wrench is there to stop the arm from turning while the old head comes loose.
A practical warning sign is movement where the arm enters the wall. If you see that point rotate while trying to replace the shower head, stop and reposition your tools. Continuing to force the fitting can loosen the hidden connection.
Clean and Inspect the Threads
After the old head is removed, peel away old thread tape and brush the exposed threads clean. Remove mineral deposits and loose sealant without gouging the metal. Clean threads make it easier to start the new fitting straight and create a reliable seal.
Check for damaged threads, corrosion, cracks, or looseness at the wall. If the arm moves freely or water has appeared where it enters the wall, the problem may be more than the showerhead. A shower arm leak at that location can mean the hidden threaded connection needs attention.
Apply Plumber’s Tape Correctly When Required
If the new showerhead requires PTFE tape, face the threaded end of the shower arm and wrap the tape clockwise. This matches the direction the showerhead turns as you screw it on, helping prevent the tape from bunching or unwinding.
Start just behind the first thread and make two or three smooth wraps with light tension. Press the tape into the thread grooves with your fingers. More tape is not necessarily better; a thick layer can make the fitting harder to start. For a plumbers tape showerhead connection, neat coverage matters more than volume.
If the fixture uses a rubber washer instead, make sure the washer is present, undamaged, and sitting flat inside the connector.
Install the New Showerhead by Hand First
Place the new showerhead squarely on the shower arm and turn it clockwise by hand. It should engage smoothly for several turns. If it binds immediately or feels crooked, back it off and start again. Never use a wrench to force a fitting that may be cross-threaded.
Hand-tighten until the connection is snug and the showerhead is positioned correctly. Many models need no additional force. If the instructions call for more tightening, protect the finish with a cloth and use a wrench for only a small final turn.
Overtightening can damage plastic connectors, distort a washer, strip threads, or transfer unnecessary twisting force to the shower arm. A secure connection should be snug, not excessively tight.
Test for Leaks Before You Finish
Turn the shower on at a moderate flow and watch the joint between the new head and the shower arm. Dry the area with a towel so a fresh drip is easy to spot. If water beads at the threaded connection, turn the shower off before adjusting anything.
If PTFE tape was used, remove the showerhead, clean away the old tape, apply fresh tape neatly, and reinstall it. If the fixture seals with a washer, check that the washer has not shifted or folded.
Run the shower again at normal pressure. Check both the showerhead connection and the point where the arm enters the wall. A leak at the wall needs separate attention because tightening the showerhead will not fix a loose shower-arm connection.
Three Details That Prevent Common Problems
Keep the Shower Arm Stationary
Counter-hold the arm whenever a stubborn fitting requires a wrench. Sideways pulling and uncontrolled twisting are what make this otherwise simple project risky.
Start Every New Connection by Hand
Hand-threading lets you feel whether the fitting is aligned correctly and helps prevent damaged threads during showerhead installation.
Follow the Fixture’s Own Instructions
Do not add tape, sealant, or extra wrench pressure simply out of habit. The specific showerhead’s sealing design should determine how you install it.
Related bathroom projects worth exploring next include bathroom plumbing basics, fixing a dripping shower, and choosing water-efficient bathroom fixtures.
FAQ
Can I replace a showerhead without turning off the main water supply?
Usually, yes. If the shower valve shuts off correctly, there should be no flow through the shower arm while you work. If it does not stop the water completely, address that issue first.
Which direction should plumber’s tape wrap on a showerhead?
When looking directly at the end of the shower arm, wrap PTFE tape clockwise so it follows the tightening direction of the showerhead.
How tight should a new showerhead be?
Start with firm hand-tightening. If the manufacturer recommends more, use a protected wrench for a small extra turn. Excessive force can damage the fitting or disturb the shower arm.
What if the shower arm moves while I remove the old head?
Stop and hold the arm steady with a padded wrench or strap wrench before continuing. If the arm stays loose at the wall or starts leaking there, the hidden connection may need to be resealed or inspected.
A Quick Upgrade Works Best With a Light Touch
The key to replacing a showerhead without damaging the pipe is controlled force. Keep the shower arm stationary, clean the threads, use the sealing method specified for the fixture, start the new connection by hand, and test carefully for leaks. Those precautions protect the plumbing behind the wall while still giving you a fast, noticeable bathroom upgrade.