
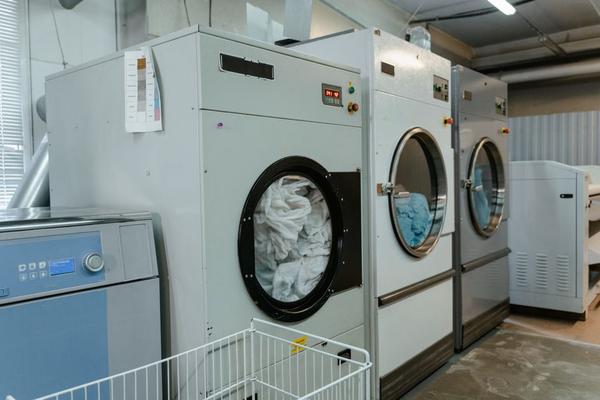
If your dryer suddenly needs two cycles to dry a familiar load, the trouble may be in the exhaust duct rather than the appliance. Lint collects beyond the removable filter, narrowing the route that carries warm, moist air outdoors. Learning how to clean a dryer vent helps restore airflow, spot damaged ductwork, and reduce a preventable fire hazard. Most accessible vents can be cleaned with a few basic tools, provided you follow the manufacturer’s instructions.
Why a Clear Dryer Vent Matters
A clogged exhaust makes it harder for the dryer to release moisture. Clothes may remain damp, cycles run longer, and the machine become unusually hot. The U.S. Fire Administration identifies failure to clean as a leading contributing factor in home clothes dryer fires. Clearing the lint screen is essential, but it does not remove material lodged inside the duct or outdoor hood.
Watch for changes: towels taking longer to dry, an unusually hot laundry room, a burning smell, or little air coming from the outdoor vent. If you smell burning, turn the dryer off and do not use it until the cause is resolved.
What You Need Before Starting
Basic dryer vent cleaning supplies include a vacuum with hose attachment, an appropriate dryer vent brush or cleaning kit, a screwdriver or nut driver for clamps, a flashlight, and gloves. Check your appliance manual before disconnecting anything.
Turn the dryer off and unplug it. For a gas dryer, do not strain or disconnect the gas line. Follow the manufacturer’s shutoff instructions or ask a qualified technician to handle work that could disturb the connection. Get help moving a heavy dryer and protect the floor.
How to Clean a Dryer Vent Step by Step
1. Locate the Exhaust Route
Find the duct leaving the back of the dryer and identify its outdoor termination. The outlet may be on a wall or roof. Note sharp bends and sections hidden behind cabinets. If the route is long, concealed, or unsafe to access, arrange professional cleaning instead of improvising.
2. Disconnect the Dryer-Side Duct
Carefully move the dryer forward just enough to reach the exhaust connection without pulling its cord or gas line. Loosen the clamp or remove suitable metal foil tape, then detach the duct. Photograph the connection first so you can reassemble it correctly. Look for crushed sections, loose joints, and holes.
3. Remove Lint Near the Appliance
Vacuum visible lint from the disconnected duct and around the dryer’s exhaust outlet. Use a soft vent brush to loosen material near the opening. Avoid pushing tools into internal dryer components. Lint within the appliance cabinet is better handled according to the manufacturer’s servicing instructions.
4. Brush Out the Duct
Work a compatible cleaning brush gradually through reachable sections, withdrawing it periodically to remove collected lint. Do not force it around tight bends. If using a drill-driven kit, make sure both kit and duct support that method; careless use can break the brush or damage the pipe. Vacuum loosened debris from accessible openings.
5. Clean the Outside Vent
From a safely accessible position, open the exterior hood or flap as designed. Remove lint, leaves, or nesting material and check that the damper moves freely. Never cover the opening with mesh screening, which can trap new lint. Leave rooftop outlets to properly equipped professionals.
6. Inspect the Duct Material
Check for kinks, sagging, disconnections, and excessive bends. Smooth metal ducting is generally preferred for dryer exhaust systems. Plastic or thin foil accordion-style venting should be assessed for replacement with approved materials. Follow the appliance manual and local installation requirements rather than assuming every duct is interchangeable.
7. Reconnect Without Crushing
Reattach the duct using a suitable clamp or approved metal foil tape. Avoid screws protruding into the airflow path, where lint could snag. Slide the appliance back carefully, keeping the duct from collapsing. Restore power after reassembly. A qualified professional should deal with any disturbed gas connection.
8. Confirm Airflow Outdoors
Run a brief cycle according to the manufacturer’s instructions and observe the exterior vent from a safe location. The flap should open, with a steady stream of air emerging. If flow remains weak, a hidden blockage, disconnected duct, or poor installation may remain. Stop using the dryer until the problem is addressed.
How Often Should You Clean a Dryer Vent?
Remove dryer lint from the filter before every load and check the outdoor flap periodically. The U.S. Fire Administration recommends cleaning dryer vent ductwork annually. Homes with frequent laundry loads, long duct runs, or several bends may need more frequent attention. Longer drying times are a reason to check sooner.
Try a practical comparison: after cleaning, dry a similar load of towels using the same settings and note whether it finishes in the usual cycle. This does not replace an airflow check, but it makes performance changes easier to recognize. Add dryer duct maintenance to your laundry appliance maintenance schedule, alongside washing machine cleaning and hose checks.
Mistakes That Can Undo the Cleaning
Cleaning only the lint screen leaves duct buildup untouched. Pushing debris deeper into the pipe, damaging a flexible connector, or forgetting the exterior hood can also leave airflow restricted. Avoid crushing the duct when moving the dryer back into place. Do not vent a conventional exhaust dryer indoors or assume a dryer sheet will solve an airflow problem.
If the duct remains blocked, the dryer overheats, or the outlet cannot be accessed safely, call an experienced technician. Work involving gas connections or replacement of an improperly installed exhaust system is particularly unsuitable for guesswork.
Frequently Asked Questions
Can I clean a dryer vent without moving the dryer?
You can clear an accessible outside hood, but full cleaning normally requires reaching the connection behind the machine. Hire help if moving the appliance could damage a gas line or other connection.
Is cleaning the lint trap enough?
No. The screen captures much of the lint, but some reaches the exhaust duct. Clean the screen before every load and maintain the duct separately.
Why are clothes still damp after cleaning?
A remaining obstruction, crushed duct, overloaded drum, dirty lint filter, or dryer malfunction may be responsible. Check exterior airflow and seek servicing if the problem continues.
Can I use a leaf blower to clear the duct?
Blowing air through the system may leave compacted lint behind or separate weak joints. Proper inspection, compatible brushing, and vacuuming are more reliable.
Make Vent Care a Regular Habit
A complete cleaning reaches beyond the lint filter to the duct and outdoor hood. Combine an annual exhaust inspection with filter cleaning every load, and respond promptly to slow drying or weak airflow. If part of the route is hidden or damaged, professional service is the safer solution.