
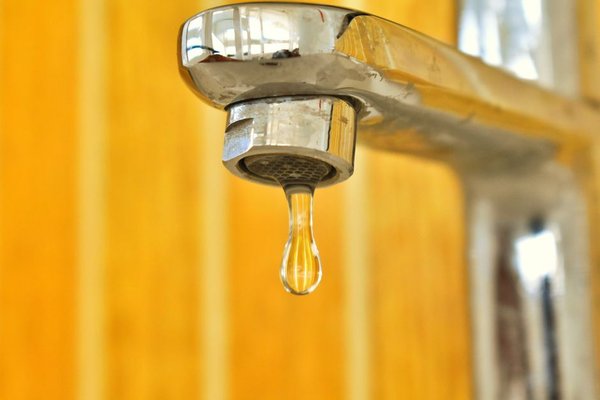
A faucet that keeps dripping after you turn it off is annoying, but the repair is often smaller than it sounds. The key is identifying where water escapes and what valve sits inside the faucet before buying parts. A worn washer, damaged cartridge, or failed seal requires a different fix. Here is how to fix a leaking faucet without replacing more than necessary.
Find the source before taking anything apart
Dry the faucet, sink, and surrounding countertop. Turn the water on, then off, and watch where moisture first appears. A continuing drip from the spout with the handle closed usually indicates an internal valve that is not sealing. Water around the handle or spout base may point to an O-ring or seal. Water beneath the sink may instead come from a supply connection, drain, or mounting fitting.
For example, if the cabinet gets wet only while water runs down the drain, investigate the drain and supply connections before dismantling the handle. If a supply hose is leaking, shut off its water supply and repair that connection rather than replacing a faucet washer.
Identify your faucet type
Older two-handle compression faucets typically press a rubber washer against a valve seat. Many newer single- and two-handle faucets use cartridges. Other single-handle designs contain a ball mechanism or ceramic discs. You cannot always identify the mechanism by handle shape alone.
Look for the brand and model, then consult the manufacturer’s parts diagram. Replacement cartridges are often model-specific, even when they look similar. Photograph disassembly and keep the old part for comparison when shopping.
Prepare your tools and shut off the water
Gather a screwdriver, suitable hex key, adjustable wrench, towel, small container for screws, and the correct replacement parts. Some faucets also require needle-nose pliers or a manufacturer’s cartridge puller. Use silicone-based lubricant only where the instructions recommend it.
Close both shutoff valves beneath the sink. Open the faucet to relieve pressure and confirm that water has stopped. If a shutoff does not work, do not disassemble the faucet; use a functioning main shutoff if you can do so safely, or contact a plumber. Plug the drain to catch screws, and protect finished surfaces from scratches.
Lay out the removed pieces in order. Avoid forcing corroded nuts or decorative caps. A seized fitting is a reason to slow down, not apply more force.
Make the repair that matches the mechanism
Compression faucet: replace the washer
Remove the handle cap, screw, and handle, then carefully loosen the bonnet or retaining nut. Withdraw the valve stem. A rubber washer is normally attached at the bottom. If it is flattened, split, or hardened, replace it with one of the same size and profile.
During faucet washer replacement, inspect the metal valve seat where the washer presses. A rough or damaged seat can cause another drip even with a new washer. Depending on the design, a damaged seat may need servicing or replacement. Reinstall the parts carefully without overtightening the stem or handle.
Cartridge faucet: install the correct cartridge
Remove the handle and trim according to the model instructions. Note the position of the retaining nut or clip and the orientation of the cartridge. Extract it as directed; stubborn cartridges sometimes require a dedicated puller. Avoid prying against the faucet body.
For faucet cartridge replacement, use the exact part specified by the manufacturer. Gently remove accessible mineral deposits without scratching sealing surfaces. Fit the new cartridge in the proper orientation, secure its retaining hardware, and reinstall the handle. Some designs have seals integrated into the cartridge; others use additional replaceable components.
For a two-handle faucet, determine whether the hot or cold valve leaks before purchasing parts. Where both separate shutoffs work, isolating one side at a time can help identify the faulty valve.
Ball and ceramic-disc faucets: check model-specific seals
Ball faucets may require seats and springs, while ceramic-disc assemblies have different seals and service components. Leaks around the spout base can involve O-rings. Consult the manufacturer’s instructions before ordering a repair kit. A generic washer will not fix a faucet that does not use one.
Reassemble and test for leaks
With the handle closed and all components installed, slowly reopen the shutoff valves. Look immediately for water under the sink and around the handle. Run hot and cold water, operate the handle normally, then turn it off and observe the spout for several minutes.
One or two drops immediately after closing can be leftover water draining from the spout. Continuing drips suggest the valve is still not sealing. If flow sputters after the supply is restored, run the faucet briefly. Debris caught in an aerator may need cleaning according to the manufacturer’s guidance.
Check the cabinet again later. A proper dripping faucet repair should leave both the spout and all disturbed connections dry.
What if the faucet still drips?
If the leak continues, verify the replacement part number, the orientation of the cartridge, and the placement of every seal. A compression faucet may have a damaged valve seat. Debris can also interfere with a valve’s closure. Tightening the handle harder will not correct these problems and can cause additional wear.
Call a licensed plumber if a shutoff will not close, a fitting is severely corroded, water sprays from a connection, or a cartridge cannot be removed without excessive force. A cracked faucet body or heavily damaged internal surface may make replacement more sensible than another attempt.
Once the leak is fixed, a guide to cleaning a faucet aerator may help if flow remains weak. Knowing how to shut off water to a sink and how to check for hidden under-sink leaks can also prevent future problems.
Frequently asked questions
Can I fix a leaking faucet without replacing it?
Often, yes. Replacing a compatible washer, cartridge, seal, or seat-and-spring kit may stop a faucet leak. A cracked body, unavailable parts, or extensive internal damage can make replacement preferable.
Why does my faucet drip after a washer replacement?
The washer may be the wrong size or incorrectly fitted. On a compression faucet, a pitted valve seat can also prevent the washer from sealing properly.
How do I identify the right faucet cartridge?
Find the manufacturer’s model number and consult its parts diagram. If the model is unknown, shut off the water before removing the existing cartridge for identification. Similar-looking cartridges are not always interchangeable.
Is fixing a dripping faucet a safe DIY job?
Many straightforward sink-faucet repairs are manageable when the water shuts off completely and the correct parts and directions are available. Stop if components are seized, connections are damaged, or you cannot reliably isolate the supply.
A lasting fix begins with the right diagnosis
Knowing how to fix a leaking faucet means checking the leak location, identifying the valve, and replacing the part that actually failed. Take photos, use compatible components, and test the finished repair. That measured approach is usually more effective than replacing random seals or overtightening a dripping handle.